I have been trying to get back in the swing of my crafting. Those of you who know me or are regular readers will know I have problems with my back that have made everything, including crafting, a bit more challenging for me. Anyway, ever since I first saw Barbara Gray on Create and Craft TV I have been addicted to Clarity Stamps. After doing a couple of cards for homework for one of her 'Classroom' shows, I came across a sunflower stamp that I purchased ages ago and decided to do what I would class as a quick and simple card.
Here is the card....
I used Versamark ink to stamp onto white card and heat embossed using WOW pepper embossing powder. Then I brayered the card with Mustard Seed and Spiced Marmalade.
I matted the image layer using dark brown paper. Then I heat embossed the sentiment, which is also a Clarity Stamp, directly on the cream card. If I'm honest, the card originally was going to be a tri-fold, but I messed up the stamping of the sentiment on my first try (I pressed a bit too hard getting a double image on a few of the letters). I just cut off the panel and made it a DL card.
The sunflower stamp is just so pretty I didn't think the card needed much else really.
I am entering this card in the following challenges:
Bearly-Mine Challenges - Embossing
Paper Pretties Monday Challenge - Embossing
Just a reminder, there are challenges running at Just Inspirational Challenges and at Crafty Boots Challenges, so if you are feeling creative and want to join in, check them out and link up.
All the best for a wonderful day!
xx Denise
Showing posts with label Clarity Stamps. Show all posts
Thursday, 19 April 2012
Monday, 16 April 2012
'In the Classroom' Homework for Lesson 6
Hello again,
I have been a busy(ish) bee. After seeing Barbara Gray's post on facebook encouraging people to get their homework in from lesson 6, I decided to get off my duff and do just that.
The stamps for lesson 6 are the gorgeous, and I had a lot of fun working with them.
First project was a card directly from the lesson project - and here is mine..
I pretty much followed the lesson point for point, other than choosing some different pro marker colors. I decided on this simple layout for the card itself to make sure the artwork keeps the spotlight. There are a few (or probably more than a few) flaws in my stamping, but all in all I am happy with the way it turned out - especially considering this was my first pass at it.
Next, I decided to do another card with my own 'design'. I did use a stamp not in the lesson set for the sentiment, but I thought it went perfectly with the floral theme.
Here 'tis....
I stamped the flowers and the verse with versamark and embossed with Zing Pewter embossing powder. It is not quite as shiny as it looks in the picture - but that is what flashes do..lol. Also, the verse is a bit more clear than it appears in the photo thanks to the reflection of the flash on the embossing powder.
The flowers are colored with pro-markers and I did some distressing on the edges of the image layer with milled lavender distress ink.
I was originally going to do a DL card, but I thought I needed something on the card to accentuate the blue in the flowers a bit. I decided to make it a half A4 card and added the blue vintage ribbon on the bottom. I wish the photo did the card justice, but I as I will be sending both in to Barbara Gray as my lesson homework so she can pass them on through her charity, I just have to hope the recipient will like it.
Anyway, I just thought I would share these cards here as well. I hope you like them.
I did decide to enter the second card in the Outlawz Monday Greeting Card Challenge which has a theme of 'Distressing'.
Don't forget to check out the current challenges over at Crafty Boots (No Girls Allowed theme) and Just Inspirational Challenges (photo inspired and sponsored by Delicious Doodles). There is still plenty of time to enter both, and I absolutely love seeing all the wonderful creative projects you all come up with.
Take care and please feel free to leave a comment. I do hope you pop back soon.
xx Denise
I have been a busy(ish) bee. After seeing Barbara Gray's post on facebook encouraging people to get their homework in from lesson 6, I decided to get off my duff and do just that.
The stamps for lesson 6 are the gorgeous, and I had a lot of fun working with them.
First project was a card directly from the lesson project - and here is mine..
I pretty much followed the lesson point for point, other than choosing some different pro marker colors. I decided on this simple layout for the card itself to make sure the artwork keeps the spotlight. There are a few (or probably more than a few) flaws in my stamping, but all in all I am happy with the way it turned out - especially considering this was my first pass at it.
Next, I decided to do another card with my own 'design'. I did use a stamp not in the lesson set for the sentiment, but I thought it went perfectly with the floral theme.
Here 'tis....
I stamped the flowers and the verse with versamark and embossed with Zing Pewter embossing powder. It is not quite as shiny as it looks in the picture - but that is what flashes do..lol. Also, the verse is a bit more clear than it appears in the photo thanks to the reflection of the flash on the embossing powder.
The flowers are colored with pro-markers and I did some distressing on the edges of the image layer with milled lavender distress ink.
I was originally going to do a DL card, but I thought I needed something on the card to accentuate the blue in the flowers a bit. I decided to make it a half A4 card and added the blue vintage ribbon on the bottom. I wish the photo did the card justice, but I as I will be sending both in to Barbara Gray as my lesson homework so she can pass them on through her charity, I just have to hope the recipient will like it.
Anyway, I just thought I would share these cards here as well. I hope you like them.
I did decide to enter the second card in the Outlawz Monday Greeting Card Challenge which has a theme of 'Distressing'.
Don't forget to check out the current challenges over at Crafty Boots (No Girls Allowed theme) and Just Inspirational Challenges (photo inspired and sponsored by Delicious Doodles). There is still plenty of time to enter both, and I absolutely love seeing all the wonderful creative projects you all come up with.
Take care and please feel free to leave a comment. I do hope you pop back soon.
xx Denise
Crafty Boots - No Girls Allowed
I decided to try something a little different for this fortnight's Crafty Boots Challenge. The theme is 'No Girls Allowed'.
Now when I say I decided to try something a little different I meant that I have never really done 'freestyle' direct to card. I was not completely happy with the way it turned out, but as I did it directly on the card (and never like to waste anything) I thought I would go with it.
The whole card was inspired by this adorable wizard bear from the Cupcake Craft's Tumble Ted Dress Up CD Rom and he is colored with Pro Markers (no surprise there).
For the background I used Versa inks and brushed them on in a swirling motion. I was going for a vortex type effect. In fairness to myself, this shows up a little more distinctly on the real life card, but I still would have liked it to be a little more defined than it turned out to be. To enhance the effect I added a couple of strokes with Papermania Metallic Markers. I stamped and embossed the sentiment directly onto the card as well. It is a Clarity Stamp which I just bought and was dying to use.
I had originally gone around the edge of the card with Papermania metallic markers, but it was not 'uniform' enough for me, so I decided to use the star strand stickers to cover that and frame the card.
Also, as the Clarity Stamp sentiment has hearts, and the card has a wizardy/magic theme, I covered all the hearts with star stickers.
When I finished the card, I thought it looked a little muted, so I decided to try using Crafter's Companion Spray and Shine. I have had it in my stash for about a year and had never used it. I have to say I was pleasantly surprised with the sheen it gave to the card overall. Again, this sheen is lost a bit in the photo, but it really did finish off the card perfectly.
So..... I hope you like the card. I think I will probably take another pass at this card to see if I can get the background looking the way I want it to. If I do, I will post it here. :)
Do pop over to Crafty Boots Challenges to see the gorgeous work from the rest of the design team and to of course link up your 'No Girls Allowed' projects.
Thanks as always for looking. If you have any comments (or suggestions on the swirly background especially) I would love to read them.
Take care and please come back again soon!
xx Denise
Now when I say I decided to try something a little different I meant that I have never really done 'freestyle' direct to card. I was not completely happy with the way it turned out, but as I did it directly on the card (and never like to waste anything) I thought I would go with it.
The whole card was inspired by this adorable wizard bear from the Cupcake Craft's Tumble Ted Dress Up CD Rom and he is colored with Pro Markers (no surprise there).
For the background I used Versa inks and brushed them on in a swirling motion. I was going for a vortex type effect. In fairness to myself, this shows up a little more distinctly on the real life card, but I still would have liked it to be a little more defined than it turned out to be. To enhance the effect I added a couple of strokes with Papermania Metallic Markers. I stamped and embossed the sentiment directly onto the card as well. It is a Clarity Stamp which I just bought and was dying to use.
I had originally gone around the edge of the card with Papermania metallic markers, but it was not 'uniform' enough for me, so I decided to use the star strand stickers to cover that and frame the card.
Also, as the Clarity Stamp sentiment has hearts, and the card has a wizardy/magic theme, I covered all the hearts with star stickers.
When I finished the card, I thought it looked a little muted, so I decided to try using Crafter's Companion Spray and Shine. I have had it in my stash for about a year and had never used it. I have to say I was pleasantly surprised with the sheen it gave to the card overall. Again, this sheen is lost a bit in the photo, but it really did finish off the card perfectly.
So..... I hope you like the card. I think I will probably take another pass at this card to see if I can get the background looking the way I want it to. If I do, I will post it here. :)
Do pop over to Crafty Boots Challenges to see the gorgeous work from the rest of the design team and to of course link up your 'No Girls Allowed' projects.
Thanks as always for looking. If you have any comments (or suggestions on the swirly background especially) I would love to read them.
Take care and please come back again soon!
xx Denise
Tuesday, 13 December 2011
It's a Clarity Christmas!
****Spoiler Alert*****
if you are one of my co-workers, neighbors or family in Germany, do not look any further ;)Ok folks, they have been a long time in the making, but the Christmas cards I will actually be giving out to most on my card list are finally done. My other half and I decided to pick a card to give out to everyone each year so we would not have to worry about to whom we gave which card. This year, we chose to use one of the lovely designs introduced by Barbara Gray using her Clarity Stamps. I tried to mix it up a bit, but the essence is definitely Barbara's lovely design.
| A couple of my favorites |
| A random sampling |
| A closer look at the top row |
There is no doubt that these cards took a bit of time and effort, but I think they were worth it. I cannot take credit for all of the coloring as I did have some help from my other half and a dear friend. Speaking of the coloring, they are done with Letraset Flex Markers and Pro Markers. The stamps are all Clarity Stamps which were stamped with clear Versamark heat embossed with a variety of embossing powders in gold, silver, gold sparkle, pewter and even one in iridescent blue.
I will be proud to give these out, and I cannot thank Barbara Gray and her uber talented team enough for their products and ideas.
Now I am off for a nap I think. Take care and have a happy and healthy holiday season!
xxDenise
Wednesday, 16 November 2011
Christmas White on White
Another few days, another several cards done....and I thought I would throw my hat into to a few more challenges.
I used my brand new Milton and Company stamp. I just love their images! She is coloured with Letraset Flex Markers - which I am completely addicted to using. I was so glad when they released more colors and have been building my stash little by little.
The 'doily' layer is made using a linen textured cardstock punched with the X-Cut Multi-shaper Blossom punch. Then I stamped one of my Clarity Stamps with Versamark Ink and heat embossed using WOW Sparkling Snow Embossing Glitter. The layer beneath is a glittered acetate which is fastened to the card using solid top eyelets.
The initial inspiration for this card came from the Passion for Promarkers White on White Challenge.
I decided to try to include the themes from the Polka Doodles: Swirls and Pearls and Letraset giveaway challenge and the Christmas Stampin' All Year Long: Never Seen Ink challenge.
I would also like to enter this card in the following challenges:
Hooked on Craft Challenges: Something Punched
Stamptacular Sunday Challenge: Punch It
Bunny Zoe's Crafts Challenges: Anything Christmas with Pearls
and thanks to Dawn for the head's up.... the card fits this challenge as well:
The Crafty Pad: White on White
I hope you like the finished product. Thanks again to all the challenge blogs and their mega-talented design teams for the inspiration and motivation!
Happy Crafting
xxDenise
| A little Christmas cheer |
I used my brand new Milton and Company stamp. I just love their images! She is coloured with Letraset Flex Markers - which I am completely addicted to using. I was so glad when they released more colors and have been building my stash little by little.
The 'doily' layer is made using a linen textured cardstock punched with the X-Cut Multi-shaper Blossom punch. Then I stamped one of my Clarity Stamps with Versamark Ink and heat embossed using WOW Sparkling Snow Embossing Glitter. The layer beneath is a glittered acetate which is fastened to the card using solid top eyelets.
The initial inspiration for this card came from the Passion for Promarkers White on White Challenge.
I decided to try to include the themes from the Polka Doodles: Swirls and Pearls and Letraset giveaway challenge and the Christmas Stampin' All Year Long: Never Seen Ink challenge.
I would also like to enter this card in the following challenges:
Hooked on Craft Challenges: Something Punched
Stamptacular Sunday Challenge: Punch It
Bunny Zoe's Crafts Challenges: Anything Christmas with Pearls
and thanks to Dawn for the head's up.... the card fits this challenge as well:
The Crafty Pad: White on White
I hope you like the finished product. Thanks again to all the challenge blogs and their mega-talented design teams for the inspiration and motivation!
Happy Crafting
xxDenise
Friday, 26 August 2011
A Woman's Prerogative - Lesson 1
Well, it is a good thing that it's a woman's prerogative to change her mind, because I have done just that.
Although I made a card to send in as my Lesson 1 'In the Classroom with Barbara Gray' assignment, I decided to do some more pattern building and ended up making a card I was a bit happier with.
Here 'tis......
I will be sending this off, so I hope it does the Clarity Stamps justice.
Take care and happy crafting
xx Denise
Although I made a card to send in as my Lesson 1 'In the Classroom with Barbara Gray' assignment, I decided to do some more pattern building and ended up making a card I was a bit happier with.
Here 'tis......
I will be sending this off, so I hope it does the Clarity Stamps justice.
Take care and happy crafting
xx Denise
Thursday, 25 August 2011
A bit more clarity
Hello all....
Each day that passes brings us another day closer to Christmas, so it is just as well then that I have been busying myself with making cards. After working on my pattern building project for In the Classroom with Barbara Gray, I decided to get out some more of my Clarity Stamps and see what I could come up with.
These came together quite quickly. I used Hydrangea Big and Juicy ink, the Snowflake Corner and the 'Christmas Greetings' Clarity Stamps. Since I stamped on Centura Pearl cardstock, I embossed the stamped images with pearl iridescent embossing powder.
Then some embellishments and viola.
Sweet and simple, but sometimes that is all you need.
Take care and happy crafting
xx Denise
Each day that passes brings us another day closer to Christmas, so it is just as well then that I have been busying myself with making cards. After working on my pattern building project for In the Classroom with Barbara Gray, I decided to get out some more of my Clarity Stamps and see what I could come up with.
These came together quite quickly. I used Hydrangea Big and Juicy ink, the Snowflake Corner and the 'Christmas Greetings' Clarity Stamps. Since I stamped on Centura Pearl cardstock, I embossed the stamped images with pearl iridescent embossing powder.
Then some embellishments and viola.
Sweet and simple, but sometimes that is all you need.
Take care and happy crafting
xx Denise
Wednesday, 24 August 2011
Classroom with Barbara Homework
Hello everyone,
This card is the product of the first "In the Classroom with Barbara Gray" class and 'homework assignment'.
| In the Classroom Lesson 1 Assignment |
The stamps used are all Clarity Stamps including:
- Large Butterfly
- Berry corner & Best Wishes sentiment from the Berry Corner stamp set
- Grasses
- Small birch leaf
I used the Foliage and Spice Big and Juicy ink pads for all the stamping except the blue, which I did with the Stormy Sky Distress Ink. The butterfly is coloured in with Pro Markers.
If I'm honest, getting the pattern to turn out the way I wanted it took a few trials and errors. Then once I got the pattern right, I ended up ruining another card trying to get the background 'sky' the way I wanted it. Finally I ended up getting it all right in the card you see above.
I would like to enter this card in the following challenges:
Anything Challenge - Inspired by TV / Films (Inspired by the Butterfly Effect)
I hope you like the card. As always, I welcome any and all comments - even constructively negative ones :)
Take care and happy crafting
xxDenise
Monday, 22 August 2011
Edelweiss Happy Christmas
Here is a card that I made this evening after looking through some more challenge blogs.
I would like to enter this card in the following challenges:
One Stop Craft Challenge - Bold and Bright
Speedy the Cat's Friends Challenge Week 69 - Emboss It
Christmas Stampin' All Year Long - Non Traditional
Tuesday Throwdown - Non-stamped sentiment
The flower is one of the lovely Clarity Stamps which I 'debossed' in silver into extra thick embossing powder mixed with bright blue mica powder. Both of the white layers are factory embossed papers from Hunkydory. The card came together quite quickly and I was pleasantly surprised with how the flower turned out as I had never done debossing, nor had I ever tried tinting ultra thick embossing powder.
It seems that from the depths of emotion comes creativity. I don't think this is news to anyone, except perhaps me. I always believed it about other people, but never about myself.
I hope you like the card. I want to say a big thank you to all the blogs that hold challenges. Having the challenges to give my crafting a general direction has been a godsend this past week by keeping my mind occupied and giving me an outlet for some of my feelings.
Take care and happy crafting
xx Denise
![]() |
| Clarity Edelweiss / Embossed |
One Stop Craft Challenge - Bold and Bright
Speedy the Cat's Friends Challenge Week 69 - Emboss It
Christmas Stampin' All Year Long - Non Traditional
Tuesday Throwdown - Non-stamped sentiment
The flower is one of the lovely Clarity Stamps which I 'debossed' in silver into extra thick embossing powder mixed with bright blue mica powder. Both of the white layers are factory embossed papers from Hunkydory. The card came together quite quickly and I was pleasantly surprised with how the flower turned out as I had never done debossing, nor had I ever tried tinting ultra thick embossing powder.
It seems that from the depths of emotion comes creativity. I don't think this is news to anyone, except perhaps me. I always believed it about other people, but never about myself.
I hope you like the card. I want to say a big thank you to all the blogs that hold challenges. Having the challenges to give my crafting a general direction has been a godsend this past week by keeping my mind occupied and giving me an outlet for some of my feelings.
Take care and happy crafting
xx Denise
Tuesday, 19 July 2011
Clarity Love Aperture
Now that I am making cards regularly, I need to make sure I give myself enough time to make cards for my friends and loved ones. Realising that my friends 1st wedding anniversary is this month, I put together this card using Clarity Stamps and brayering techniques. Considering I had never done an aperture stamped image before, and my brayering skills are still developing, I am quite pleased with the end result.
| Anniversary Card |
The colours may not be as visible on the picture, but the LOVE is embossed in purple with a grainy effect and the bottom mat is a lavender patterned paper that I picked up at Summer Crafting. The sky and ground are brayered, both in and outside the aperture.
This burgundy dots layer is about A5 size, so overall the card is a bit on the larger side, but as it is being hand delivered that shouldn't be a problem!
Sunday, 10 July 2011
Christmas Clarity Projects
Well, here are my first attempts at using Clarity Stamps for Christmas cards. I find that each project I do opens up ideas for more and more projects.
This was my first attempt using my lovely new spruce-scape Clarity stamp, as well as the star and the reindeer, which are also Clarity Stamps (sensing a trend are we?) I used some embossing on the 'snow', including some puffy white. It came out alright, but not quite the way I had intended.
I got some feedback (from Nina) that it would be better to have two reindeer, so this was the next generation.
I have to agree, the two reindeer do make the star more of a focal point. I was a bit happier with the ground as well. I used the ice grey 1 promarker to add shading under the trees and double embossed the snow. First I used the versamark pad and dabbed it on to emboss with white. Then I used the versamark pen to put some streaks in, which I then embossed with crystal iridescent embossing powder. Looking at it here, I am thinking that next time I can go a bit darker / deeper on the sky, and I need to do something different with the star, though I am not sure what.
Although my masking is improving, I still have to get to grips with some of the detail work and actually putting the card together. Rather than cutting the card to size or adding another matt / layer, I just put some green sparkle dots down the edges (not very evenly I hasten to add). Maybe I should take a page out of Claire Curd's book and make my toppers to match my card sizes... live and learn.
Finally, I used Barbara's recent C&C demonstration to make this next card.
For this card, instead of going for the bright gold like Barbara demonstrated, I decided to see how it would look with a bit of distressing.
I embossed the two holy and ivy stamps and the Merry Christmas using Tim Holtz tea bag embossing powder. Fantastic result as it looks almost like copper or brass. I must say though it is difficult to be sure when the embossing powder has 'gone'. Unless I did something wrong, it keeps a bit of a gritty feel even when it has been fully heated and cooled.
I used pro-markers to color in the ivy and holy, and then distressed the edges of the card with tea bag Distress Ink.
Anyway, that is my progess so far. Please feel free to let me know what you think (or if you have any suggestions). :)
Happy Crafting!
| Reindeer with Pinescape and star |
I got some feedback (from Nina) that it would be better to have two reindeer, so this was the next generation.
| Two Reindeer with Pinescape and star |
Although my masking is improving, I still have to get to grips with some of the detail work and actually putting the card together. Rather than cutting the card to size or adding another matt / layer, I just put some green sparkle dots down the edges (not very evenly I hasten to add). Maybe I should take a page out of Claire Curd's book and make my toppers to match my card sizes... live and learn.
Finally, I used Barbara's recent C&C demonstration to make this next card.
| Distressed holy and ivy |
For this card, instead of going for the bright gold like Barbara demonstrated, I decided to see how it would look with a bit of distressing.
I embossed the two holy and ivy stamps and the Merry Christmas using Tim Holtz tea bag embossing powder. Fantastic result as it looks almost like copper or brass. I must say though it is difficult to be sure when the embossing powder has 'gone'. Unless I did something wrong, it keeps a bit of a gritty feel even when it has been fully heated and cooled.
I used pro-markers to color in the ivy and holy, and then distressed the edges of the card with tea bag Distress Ink.
Anyway, that is my progess so far. Please feel free to let me know what you think (or if you have any suggestions). :)
Happy Crafting!
Saturday, 9 July 2011
Early Clarity Projects
Shortly after discovering Create and Craft TV, I was thrilled to see one of their demonstrators, Barbara Gray, and her line of Clarity Stamps. It wasn't only the apparent high qualilty of the clear stamps and the unique mounts that caught my attention, but her lovely brayering techniques.
As someone who had never done card making or stamping, I was intimidated, but decided to order one of the stamp sets and give it a try. That was all it took to hook me forever. My clarity stamp collection is constantly growing, and hopefully my techniques are also improving. I just wanted to show a few of my first efforts.
Not too shabby for a first try. We did learn that you want to limit your promarker use on the glossy paper. It works, but tricky to stop it from streaking.
Next up:
This was for a retirement card for a work colleague.
Most recently:
With this one I used the scarecrow stamp, which I got as a member of Barbara's project club as well as her cottage, some of her foliage stamps and the naked tree (dressed of course). I used distress ink for the sky and the ground, but brayered the ground and distressed the sky.
My masking techniqe needs work, but I think I am getting better!
That's all for now, but there will be some Christmas Clarity projects following shortly.
As someone who had never done card making or stamping, I was intimidated, but decided to order one of the stamp sets and give it a try. That was all it took to hook me forever. My clarity stamp collection is constantly growing, and hopefully my techniques are also improving. I just wanted to show a few of my first efforts.
| Mine is on the bottom with the floating roof tree. Nina's is on top |
Not too shabby for a first try. We did learn that you want to limit your promarker use on the glossy paper. It works, but tricky to stop it from streaking.
Next up:
| The piece of work |
| The finished card |
This was for a retirement card for a work colleague.
Most recently:
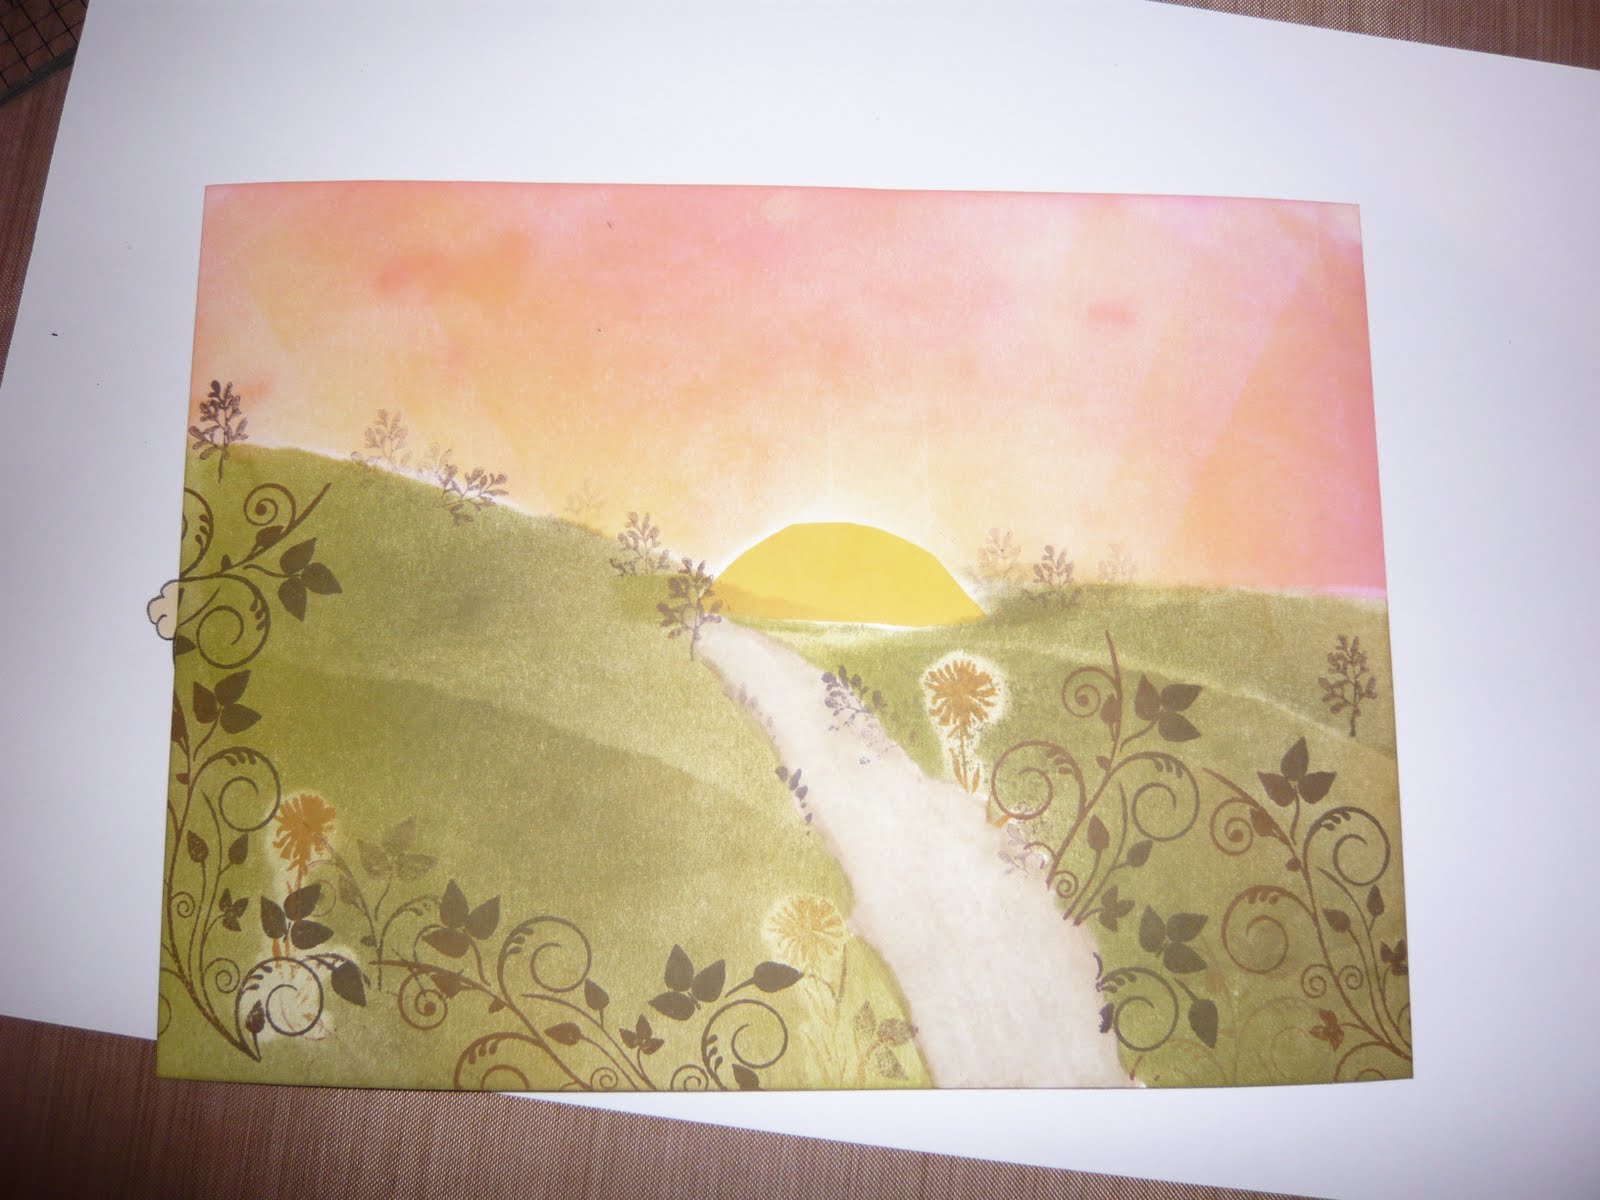
With this one I used the scarecrow stamp, which I got as a member of Barbara's project club as well as her cottage, some of her foliage stamps and the naked tree (dressed of course). I used distress ink for the sky and the ground, but brayered the ground and distressed the sky.
My masking techniqe needs work, but I think I am getting better!
That's all for now, but there will be some Christmas Clarity projects following shortly.
Subscribe to:
Posts (Atom)